

How to add a fog effect in PaintShop Pro

Appear and disappear effect in Pinnacle Studio

Using the Contour tool in CorelDRAW
Introduction to Painter’s texture brushes

Find inspiration and advice

Blog: Spring photography tips
If you’re looking for some different ways to capture the great Spring colors that are coming into bloom this time of year, check out this blog post with helpful tips for camera settings, lighting, and getting creative with your shots.

#FreebieFriday
Get a different freebie every week! Each week we add another product to download on our Freebies page so make sure to bookmark this page and check back often. These freebies are only available for a limited time, so don’t miss out! This week’s freebie is two Forsythia branch photo overlays.
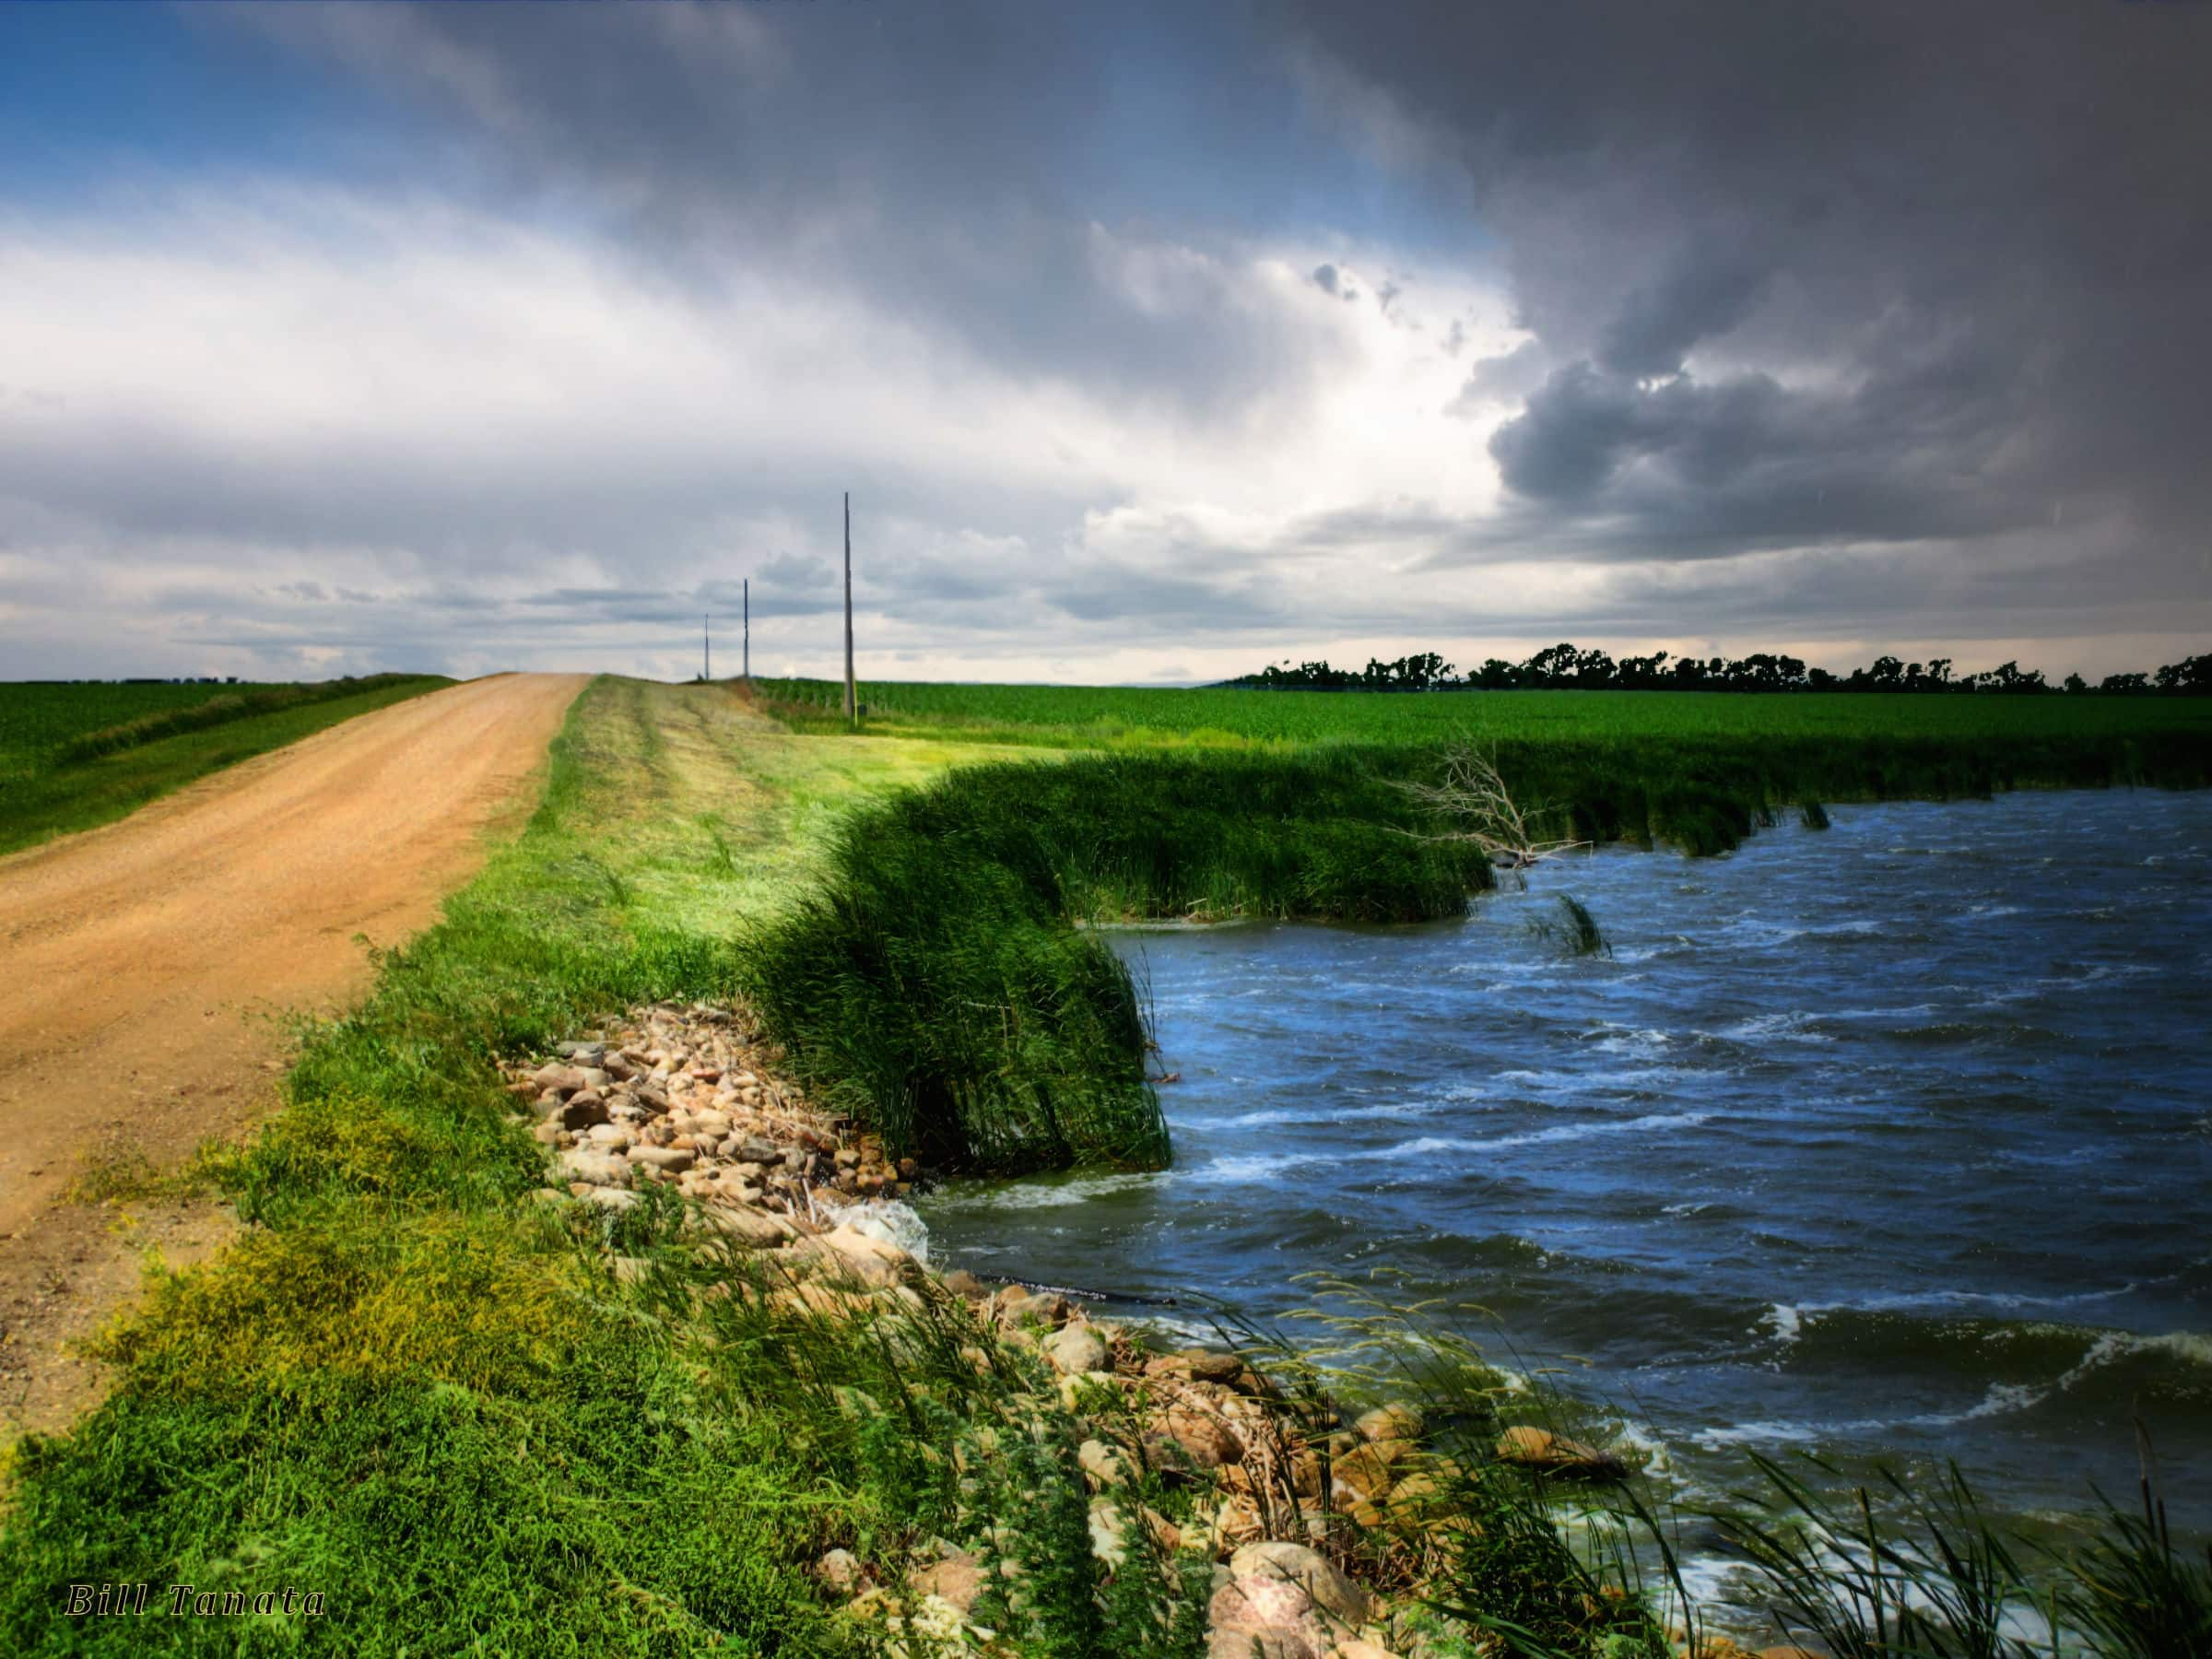
User spotlight
Our user spotlight is Windy Day by mrbillt2. We would love to see how you are using Corel products for your creative projects. Share your work in our galleries, meet other community members and exchange tips and tricks, get inspired and never stop creating.
 PaintShop Pro 2023 Ultimate
 VideoStudio Ultimate 2023
 Pinnacle Studio 26 Ultimate
 CorelDRAW Graphics Suite
Download a free trial of Corel’s award-winning photo editing, video editing, graphic design or digital art software. No risk. No obligation. No credit card required!
